
Managing your hosting account can seem complex. Yet, it is essential for a smooth website experience.
Whether you run a blog or an online store, understanding how to manage your hosting account is crucial. A well-managed hosting account ensures your website runs efficiently. It also helps avoid downtime and security issues. This guide will break down the steps for managing your hosting account.
We will cover everything from basic settings to advanced features. By the end, you will feel more confident in handling your hosting account. Let’s get started on this important journey together.
Credit: www.godaddy.com
Choosing The Right Hosting Plan
Choosing the right hosting plan can be a challenge. The decision impacts your website’s performance and scalability. This section will guide you through the process of selecting a hosting plan that best suits your needs.
Shared Vs. Dedicated Hosting
Understanding the difference between shared and dedicated hosting is crucial. Shared hosting means multiple websites share the same server resources. It’s cost-effective but may lead to slower performance during peak times. Dedicated hosting provides a server solely for your website. It’s more expensive but ensures better performance and security.
| Shared Hosting | Dedicated Hosting |
|---|---|
| Lower cost | Higher cost |
| Shared resources | Exclusive resources |
| Less control | Full control |
| Basic security | Advanced security |
Evaluating Your Needs
Before choosing a hosting plan, evaluate your needs. Consider the following factors:
- Website Traffic: Estimate your monthly visitors. High traffic sites need more resources.
- Budget: Determine how much you can spend. Shared hosting is cheaper.
- Technical Skills: Think about your technical expertise. Dedicated hosting requires more knowledge.
- Security: Assess the level of security you need. E-commerce sites need stronger security.
- Scalability: Plan for future growth. Ensure the hosting plan can scale with your website.
By considering these factors, you can select a hosting plan that aligns with your goals. Making the right choice is key to ensuring your website runs smoothly and efficiently.

Credit: www.34sp.com
Setting Up Your Hosting Account
Setting up your hosting account is the first step to getting your website online. This process involves a few key steps. Each one is important to ensure your site runs smoothly. Follow these steps to get started.
Registering Your Domain
The first step is registering your domain name. This is the name people will type to find your site. Choose a name that is easy to remember and relevant to your content. Use a domain registrar to check if your desired name is available. If it is, you can purchase it. This will give you control over the domain for a set period.
Configuring Dns Settings
After registering your domain, the next step is configuring your DNS settings. DNS stands for Domain Name System. It connects your domain name to your hosting account. This step is crucial for your website to be accessible. Log in to your domain registrar’s control panel. Find the DNS settings section. Here, you will enter the nameserver details provided by your hosting provider. Save the changes and wait for them to propagate.
Navigating The Control Panel
Managing your hosting account can be simple if you know where to look. The control panel is your best friend. It helps you manage all aspects of your website. Whether you use cPanel or Plesk, understanding these tools can make your life easier.
Understanding Cpanel
cPanel is a popular control panel. It is user-friendly and offers many features. You can manage files, databases, and email accounts with ease.
- File Manager: This tool helps you upload and manage files directly on your server.
- MySQL Databases: Create and manage databases easily.
- Email Accounts: Set up and manage your email accounts.
The cPanel dashboard is clean and organized. You can find what you need quickly. There is also a search bar to find tools faster.
Using Plesk
Plesk is another control panel option. It offers a different look but similar features to cPanel. Many users find it intuitive and easy to use.
| Feature | Description |
|---|---|
| Website Management | Create and manage websites with a few clicks. |
| Application Installer | Install popular apps like WordPress easily. |
| Security Settings | Keep your site secure with built-in tools. |
Plesk also includes a search function. This helps you find tools quickly. It is designed to be user-friendly, even for beginners.

Credit: kinsta.com
Managing Files And Databases
Properly managing your hosting account is crucial. This includes handling files and databases efficiently. Knowing how to upload files and manage databases ensures a smooth website operation. Let’s explore two critical aspects: uploading files via FTP and creating and managing databases.
Uploading Files Via Ftp
FTP stands for File Transfer Protocol. It allows you to upload files to your hosting account. Using FTP is straightforward. First, download an FTP client like FileZilla. Then, enter your FTP credentials. These are usually provided by your hosting provider.
Once connected, you can drag and drop files from your computer to the server. This method is fast and efficient. It is also secure. Ensure you organize your files in folders. This helps in easy navigation later. Always check the file permissions. This ensures your files are accessible as needed.
Creating And Managing Databases
Databases store your website’s data. Creating a database is simple. Most hosting providers offer tools like phpMyAdmin. Log into your hosting account. Navigate to the database section. Click on ‘Create New Database’. Give your database a name. Set a strong password.
Managing databases involves regular backups. This protects your data. You can also optimize your database. This improves website performance. Use tools like phpMyAdmin to do this. You can remove unnecessary data. This keeps your database clean and efficient.
Understanding these basics helps you manage your hosting account. Proper file and database management ensures your website runs smoothly.
Optimizing Website Performance
Optimizing website performance is crucial for maintaining a fast, responsive site. A well-optimized site enhances user experience and boosts search engine rankings. This section will guide you through essential steps to improve your website’s performance.
Enabling Caching
Caching stores parts of your website for faster access. It reduces server load and speeds up page load times. Enable caching through your hosting control panel or use a caching plugin. This helps your site run smoothly and efficiently.
Using A Content Delivery Network (cdn)
A Content Delivery Network (CDN) distributes your site’s content across various servers. This ensures visitors access your site from the nearest server, reducing load times. CDNs also improve site reliability and security. Set up a CDN through your hosting provider or use a third-party service.
Ensuring Security
Ensuring the security of your hosting account is critical. A secure hosting account protects your website from hackers, malware, and data breaches. By following the best practices, you can keep your site safe and your visitors’ data secure. Let’s explore some key steps to ensure your hosting account is secure.
Setting Up Ssl Certificates
An SSL certificate encrypts data transferred between your website and its visitors. This encryption prevents hackers from accessing sensitive information. To set up an SSL certificate, follow these steps:
- Purchase an SSL certificate from a trusted provider.
- Install the SSL certificate on your hosting server.
- Update your website to use HTTPS instead of HTTP.
Benefits of SSL Certificates:
- Protects sensitive data.
- Builds trust with visitors.
- Improves search engine rankings.
Implementing Regular Backups
Regular backups are essential. They ensure you can restore your website quickly if something goes wrong. To implement regular backups, follow these steps:
- Choose a reliable backup solution.
- Schedule automatic backups regularly.
- Store backups in a secure location.
Benefits of Regular Backups:
- Restores data after a security breach.
- Prevents data loss.
- Provides peace of mind.
Troubleshooting Common Issues
Managing a hosting account can come with its challenges. Sometimes, things go wrong. Knowing how to troubleshoot common issues helps keep your website running smoothly. Here, we will look at two major areas: resolving downtime and fixing email problems.
Resolving Downtime
Website downtime can hurt your business. It can drive visitors away. To fix downtime, first, check your server status. Hosting providers often have a status page. This page shows if the server is down. If the server is up, the issue may lie with your website.
Next, check your website’s error logs. These logs can show what went wrong. Look for common errors like “500 Internal Server Error”. Contact your hosting provider for help if you cannot fix the error. They can provide more details and support.
Fixing Email Problems
Email issues can also be a headache. First, check your email settings. Make sure they match your hosting provider’s settings. Incorrect settings can cause emails not to send or receive. Check for typos in email addresses.
Then, check your spam folder. Sometimes, emails end up there. If emails are still not working, check your domain’s DNS settings. Ensure that MX records point to the correct email server. Contact your hosting provider if you need help with DNS settings.
Scaling Your Hosting
As your website grows, you may need to scale your hosting. This ensures your site runs smoothly. It also keeps your visitors happy. Let’s look at how to manage scaling your hosting.
Upgrading Your Plan
Upgrading your hosting plan is a common step. This can provide more resources. Here’s how you can do it:
- Log in to your hosting account.
- Navigate to the billing or services section.
- Select the upgrade or change plan option.
- Choose a plan that fits your needs.
- Confirm your choice and complete the payment.
Benefits of Upgrading:
- More storage space
- Better performance
- Enhanced security features
Handling Increased Traffic
Increased traffic is a sign of success. But it can strain your hosting. To handle this, consider these steps:
- Monitor your traffic regularly.
- Use a content delivery network (CDN) to distribute load.
- Optimize your website content for faster loading.
- Upgrade your bandwidth and RAM if needed.
Pro Tips:
- Enable caching to reduce server load.
- Regularly update your software and plugins.
By following these steps, you can ensure your website runs smoothly. Scaling your hosting doesn’t have to be difficult. With careful planning, you can manage increased traffic and resources.
Frequently Asked Questions
How Do I Find My Hosting Account?
Log in to your hosting provider’s website. Navigate to the “My Accounts” or “Dashboard” section. Check for your hosting details there.
What Is Hosting Management?
Hosting management involves overseeing and maintaining web servers. This includes tasks like updating software, managing security, and ensuring optimal performance.
What Is Manage Hosting?
Managed hosting is a service where the provider handles server management tasks. This includes maintenance, security, and backups.
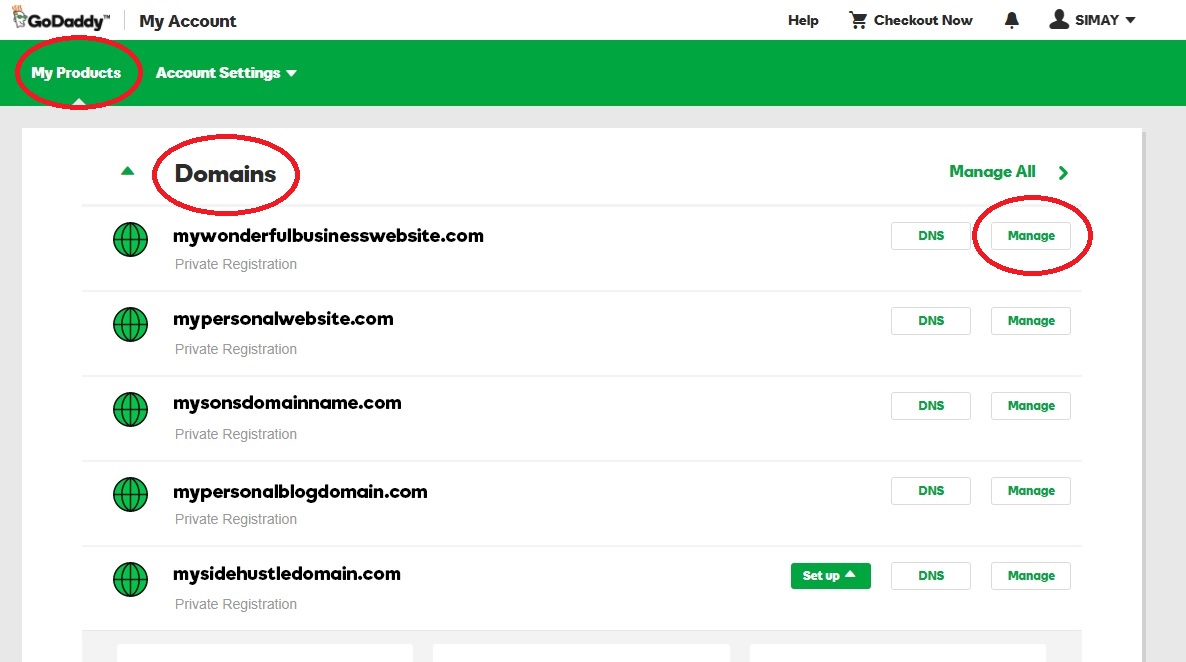
How Do I Manage My Godaddy Hosting?
Log in to your GoDaddy account. Access your hosting dashboard. Use the cPanel for management. Update settings, manage files, and monitor performance. For help, contact GoDaddy support.
Conclusion
Managing your hosting account doesn’t have to be hard. Follow the steps shared in this guide. Regularly update your settings and backup your data. Use strong passwords for added security. Check your hosting plan to ensure it meets your needs.
Seek help from support if you encounter issues. Staying organized saves time and reduces stress. With these tips, you can effectively manage your hosting account. Enjoy a smooth and efficient online presence.


