

Linking your domain name to hosting is crucial for any website. It makes your site accessible on the internet.
A domain name is your website’s address, and hosting is where your site’s files are stored. Connecting these two ensures your site runs smoothly. This guide will help you link your domain name to your hosting. We’ll break down the steps into simple, easy-to-follow instructions.
Understanding this process is essential for anyone looking to establish a web presence. Whether you are a beginner or have some experience, this guide will provide clear insights. Let’s get started on making your website live and accessible to everyone.
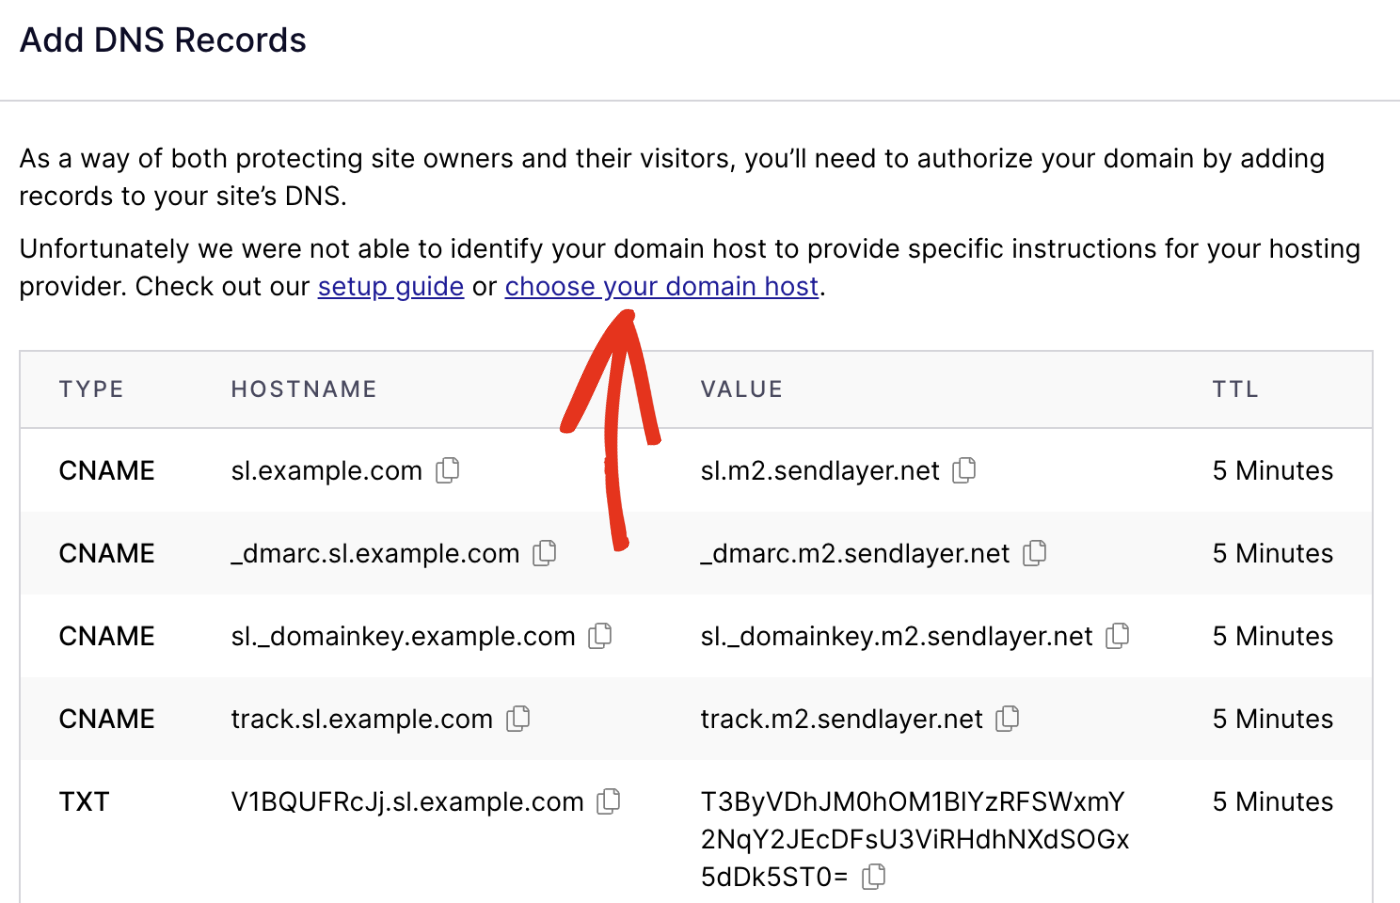
Credit: sendlayer.com
Choosing A Domain Name
Choosing the right domain name is crucial for your website’s success. It’s the first thing people see. A good domain name reflects your brand and is easy to remember. It also helps with SEO and attracts more visitors. Let’s dive into some tips for selecting a domain name that suits your needs.
Tips For Selecting A Domain
Keep it simple and short. A short domain is easier to type and remember. Avoid using numbers and hyphens. They can confuse your audience. Make sure it is easy to spell and pronounce. This helps in word-of-mouth marketing.
Use keywords that relate to your business. This can improve your site’s SEO. Try to choose a unique name. This prevents confusion with other brands. Think about your target audience. A name that resonates with them can boost engagement.
Registering Your Domain
Find a reliable domain registrar. There are many options available. Look for one that offers good customer support. Check the availability of your chosen domain. If it’s taken, consider variations or alternative names. Some registrars offer suggestions based on your input.
Consider registering multiple extensions. For example, .com, .net, and .org. This can protect your brand. Once you have a domain, register it immediately. Delays can result in someone else taking it. After registration, keep track of renewal dates. Set reminders to avoid losing your domain.
Selecting A Hosting Provider
Choosing the right hosting provider is crucial for your website’s success. Your domain name needs a reliable hosting service to function well. This section will guide you through the types of hosting services and the factors to consider while selecting a hosting provider.
Types Of Hosting Services
There are several types of hosting services available. Each caters to different needs. Here are the main types:
- Shared Hosting: Your website shares server resources with others. It’s affordable.
- VPS Hosting: Virtual Private Server. Offers more control and resources than shared hosting.
- Dedicated Hosting: You get an entire server. Provides maximum control and performance.
- Cloud Hosting: Uses multiple servers to balance load and maximize uptime.
- Managed Hosting: The provider handles server management tasks for you.
Factors To Consider
Consider these factors before choosing a hosting provider:
- Uptime Guarantee: Ensure the provider offers a high uptime guarantee. At least 99.9% is ideal.
- Customer Support: Check if 24/7 support is available. It’s essential for resolving issues quickly.
- Scalability: Choose a provider that allows you to upgrade resources easily.
- Security Features: Look for features like SSL certificates, firewalls, and backups.
- Cost: Compare the pricing plans. Ensure they fit your budget.
- Speed: Fast loading times improve user experience. Opt for providers with good performance reviews.
Here is a comparison table for quick reference:
| Factor | Importance |
|---|---|
| Uptime Guarantee | High |
| Customer Support | High |
| Scalability | Medium |
| Security Features | High |
| Cost | Medium |
| Speed | High |
By understanding these factors, you can make an informed decision. Select a hosting provider that meets your needs and ensures your website runs smoothly.
Accessing Your Domain Registrar
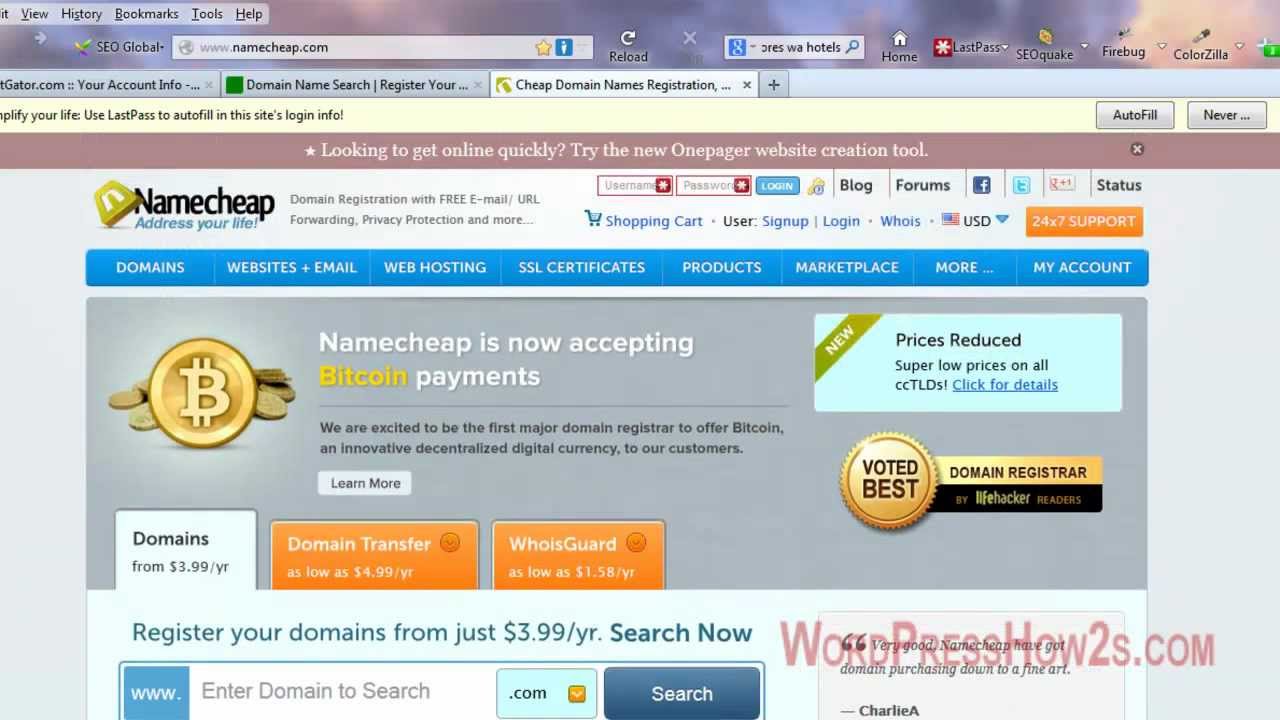
To link your domain name to your hosting, start by accessing your domain registrar. This is where you manage your domain name settings. Your domain registrar is the company where you purchased your domain name. Follow the steps below to get started.
Logging Into Your Account
First, visit the website of your domain registrar. Look for the login button, usually at the top right corner. Enter your username and password. If you forgot your login details, use the “Forgot Password” link. After logging in, you will access your account dashboard.
Navigating To Dns Settings
Once logged in, find the section for managing domains. This section may be labeled “My Domains” or “Domain Management.” Click on your domain name to open its settings. Look for the DNS settings or DNS management option. This is where you will update your DNS records to point to your hosting provider.
Locating Dns Settings
Locating the DNS settings is a crucial step in linking your domain name to hosting. These settings allow you to manage how your domain connects to your hosting provider. Understanding and accessing the DNS settings can seem challenging, but it’s simpler than you might think.
Understanding Dns Records
DNS records are like instructions that tell the internet where to find your website. They include different types, such as A, CNAME, and MX records. Each type serves a specific purpose. For example, an A record points your domain to an IP address. A CNAME record maps your domain to another domain. Knowing the basics of these records helps you manage your domain effectively.
Finding The Correct Section
First, log in to your domain registrar’s website. This is where you purchased your domain name. Look for a section labeled “DNS settings” or “DNS management.” This section might be under “Domain Management” or “Advanced Settings.” Click on it to view and edit your DNS records.
Once you find the DNS settings, you can add or modify records. Make sure to enter the correct information provided by your hosting provider. This ensures your domain links properly to your hosting service.
Updating Nameservers
Updating your nameservers is a vital step in linking your domain name to your hosting. This process ensures that your domain directs visitors to your hosting server. Let’s dive into the details of nameservers and the steps to update them.
What Are Nameservers?
Nameservers are part of the Domain Name System (DNS). They act like address books for the internet. When someone types your domain name, nameservers help direct them to your hosting server.
Think of nameservers as a bridge. They connect your domain name with your hosting server. This connection is essential for your website to function properly.
Steps To Update Nameservers
- Log in to your domain registrar account. This is where you bought your domain name.
- Find the section for managing DNS settings. It might be labeled as “DNS Management” or “Nameservers”.
- Locate the current nameservers. They usually appear as ns1.example.com, ns2.example.com, etc.
- Replace the existing nameservers with the nameservers provided by your hosting provider. These often look like ns1.yourhosting.com, ns2.yourhosting.com.
- Save the changes. This step is crucial for the updates to take effect.
- Wait for the DNS propagation. This can take up to 48 hours.
Here is a simple table to summarize the steps:
| Step | Description |
|---|---|
| Log in | Access your domain registrar account |
| Find DNS settings | Locate the DNS management section |
| Locate current nameservers | Identify the existing nameservers |
| Replace nameservers | Enter new nameservers from your hosting provider |
| Save changes | Ensure the new nameservers are saved |
| Wait for propagation | Allow up to 48 hours for changes |
By following these steps, your domain name will be successfully linked to your hosting server.
Verifying Domain And Hosting Link
After linking your domain name to your hosting, it’s crucial to verify the connection. This ensures that your website is accessible to users worldwide. Let’s dive into the steps for verifying the domain and hosting link.
Checking Propagation Status
Domain propagation can take up to 48 hours. During this time, DNS changes spread across the internet. To check the propagation status, use tools like What’s My DNS. Enter your domain name and select a record type, usually A or CNAME. This tool shows if the DNS changes have propagated globally.
Here’s a simple table to understand the status indicators:
| Status | Meaning |
|---|---|
| Green Tick | Domain linked successfully |
| Red Cross | DNS not updated yet |
Troubleshooting Common Issues
If the domain is not linking, check these common issues:
- DNS Settings: Ensure the DNS records are correct.
- Nameservers: Verify you updated the nameservers at your domain registrar.
- Clear Cache: Clear your browser’s cache to see the latest changes.
Here’s a simple code snippet to clear your DNS cache on Windows:
ipconfig /flushdnsFor Mac, use:
sudo killall -HUP mDNSResponderThese steps help resolve most issues related to domain and hosting links.
Final Steps
Congratulations! You’ve successfully linked your domain name to your hosting. Now, it’s time to complete the final steps. These steps ensure your website runs smoothly and efficiently. Let’s dive into the final steps.
Setting Up Email Accounts
Creating custom email accounts is essential. They provide a professional touch. Most hosting providers offer email services. Go to your hosting control panel. Look for the email accounts section. Click on “Create Email Account.” Enter your desired email address and password. Click “Create” to finalize.
Repeat this process for multiple email accounts. Ensure you remember the passwords. You can access your email through webmail or email clients. Using custom email accounts improves your brand’s credibility.
Configuring Additional Services
Next, configure additional services. These include SSL certificates and backups. SSL certificates secure your website. They protect data and build trust with visitors. Most hosts provide free SSL certificates. Locate the SSL section in your control panel. Click “Activate” or “Install.”
Regular backups are crucial. They safeguard your data. Most hosting providers offer automated backups. Check the backup options in your control panel. Set up daily or weekly backups. Ensure your data remains safe in case of issues.
Consider other services like CDN. They improve site speed and performance. Many hosts partner with CDN providers. Look for CDN settings in your control panel. Follow the prompts to enable the service.

Credit: support.intermedia.com
Credit: www.youtube.com
Frequently Asked Questions
How Do I Connect My Domain To My Hosting?
To connect your domain to your hosting, update your domain’s DNS settings. Point the nameservers to your hosting provider. Save changes.
How Do I Point My Domain To Another Hosting Provider?
To point your domain to another hosting provider, update the DNS settings. Log in to your domain registrar, find DNS settings, and change the nameservers to those provided by your new host. Save changes and allow time for DNS propagation.
How Do I Add A Domain Name To My Host File?
To add a domain name to your host file, open the file using a text editor. Add a new line with the IP address, followed by the domain name. Save the file and restart your browser.
How Do I Transfer My Domain To Hosting?
To transfer your domain to hosting, unlock your domain, get the authorization code, initiate the transfer with your new host, confirm the transfer via email, and wait for the process to complete.
Conclusion
Connecting your domain name to hosting is simple and crucial. Follow the steps in this guide for a smooth process. Update DNS settings, and verify connections. Your website will be live soon. Enjoy the benefits of a professional online presence.
It’s an essential step for any website owner. Now, you are ready to take your website to the next level. Happy hosting!


